About
Solar Networks Ltd evolved from a team of highly professional business solution experts who have a wealth of experience in the Telecommunication and Energy sector markets.
Over a 70 year combined experience in business development and building cost effective solutions to increase efficiencies, we have the knowhow and drive to provide our commercial and domestic clients everything they need in the use of Solar PV services.
Solar Energy
Enough sunlight reaches the earth in one hour to power the world for an entire year.
Unlike the substantial resources and capital needed to extract and burn fossil fuels, anyone can purchase and install solar panels to take advantage of this abundance of sunlight.
Best of all, solar generates significant long-term savings on electricity bills.
Working on your
Solar PV Challenges.
Solar PV systems harness the energy from the sun, convert it to electricity and use it to power electrical appliances and lighting.
The systems don’t require heat or full sun to work therefore they continue to generate energy 365 days a year.
How Solar is Installed.
-
1. Scaffolding
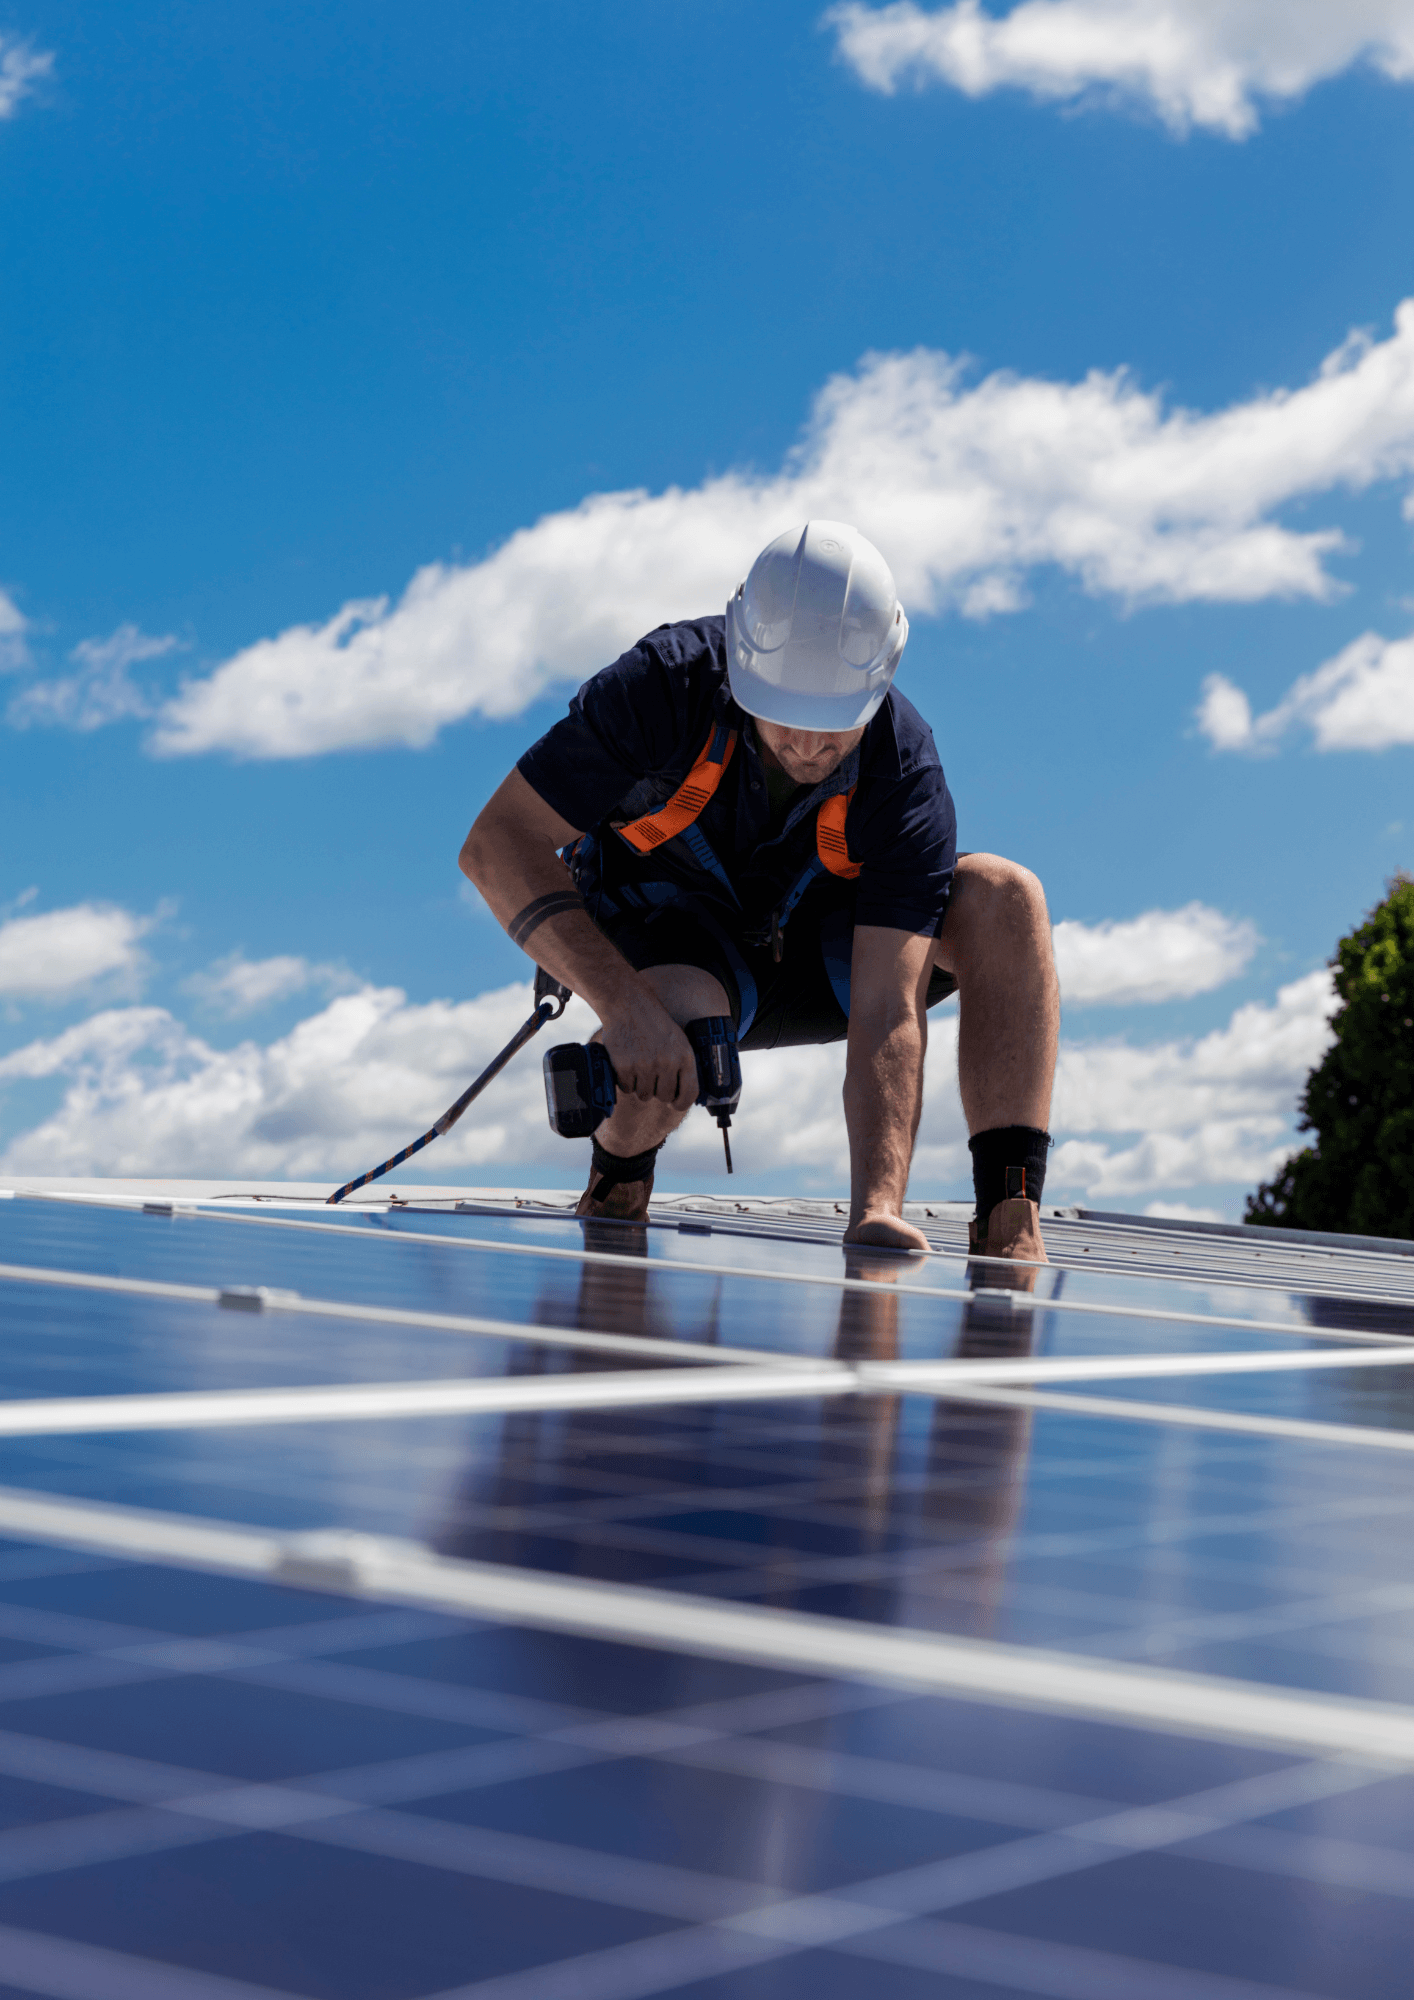
If you’re getting solar panels installed onto the roof of your house/premises, the installers will need to construct scaffolding around the building before they can progress the install.
This will take the most time out of all the steps – usually about a day – but will mean the installers can have safe and secure access to the roof.
-
2. Roof Anchors
Ever wondered how solar panels on a roof stay put? It all comes down to the anchor points.
The installer will have to lift some of the roof tiles to fix the anchors to the rafters in the loft. This will give the solar panel mounts a stable foundation, and will make sure they don’t get damaged in stormy weather.
-
3. Secure the solar panel mounts
Once the roof anchors have been fixed to the property, the installer will attach the solar panel mounting system to them. The framework will run both vertically and horizontally across the roof, and will support the base of the solar panels.
The solar panel mounting system makes sure the panels stay in place – whilst also helping to position the panels at an optimal angle on a roof, which will lead to more sunlight exposure.
-
4. Install the solar panels
Once the mounting system is set up, it’s time for the moment we’ve all been waiting for – getting the solar panels onto the roof.
The installer will start by placing the solar panels onto the mounting system – without fully securing them just yet. Once they’re happy with the angle of the panels, the installer will then tighten up all the bolts and nuts across the system to secure them in place.
-
5. Wire the solar panels to the inverter
Most panels come pre-wired from the manufacturer, which means they just need to be connected to the inverter.
It’s worth bearing in mind that smaller solar panel systems connect a single series of wires to the inverter, while larger systems connect several parallel wires.
An inverter is one of the most important pieces of equipment in a solar energy system, as it converts the direct current (DC) electricity, which the solar panel generates, into alternating current (AC) electricity.
The inverter is usually installed near the breaker panel, which is the main distribution point for electrical circuits in your home, and could be placed either indoors or outdoors.
Overall, installing the inverter should take between 4-6 hours, depending on the size of the system.
Although this step sounds easy, it’s better to get a trained professional installer to carry out this part, as things can easily go wrong. But if you do decide to do this part by yourself, make sure to shut off the household’s electricity supply beforehand.
-
6. Connect the inverter to the consumer unit
The inverter should then be connected to the consumer unit – a type of distribution board – to be able to generate electricity.
The installer will also connect a generation meter to the system at this point, which will monitor the amount of electricity the solar panels actually produce. You can also use your computer or another device to check your solar system’s performance, to make it a bit easier.
-
7. Test the solar panel system
Once the installer – or you, if you’ve been brave enough to try this – has finished all of these steps, the last thing to do is make sure it’s all working properly.
This is just a case of switching the power back on and monitoring each part of the system to make sure things are ticking along correctly.
-
8. Connect the inverter to the battery (optional)
Some people also decide to pair their solar panels with a solar battery, which will store any excess energy that can be used on cloudy days or during the night time.
If you have a solar battery in your solar system, you’ll also need to connect the inverter to the battery. This step should be taken just after step six, when you set up the inverter itself.
Useful links
Contact info
Solar Networks Limited
hello@solar-networks.com
10A Town Street, Leeds, LS28 5LD
Company Registration: 14397729
Terms & Privacy
Calls may be recorded for Monitoring purposes
Join the Newsletter
We will get back to you as soon as possible
Please try again later

